 Thai Curry Soup with Red Lentil Tofu
This post is two recipes in one! I absolutely love both of these recipes. First, the soup. I used this recipe, with the following modifications: Ingredients:
Second, the red lentil tofu. This has become a staple in my kitchen. I make big batches, and cube and freeze it. It warms up nicely in my air fryer. I use this recipe, following the instructions to make the tofu hold together as well as possible. I do find it needs to be air fried and then each cube holds it shape well. Quite a few of my vegan patients find this tofu alternative becomes a valuable tool for ensuring they get adequate protein.
0 Comments
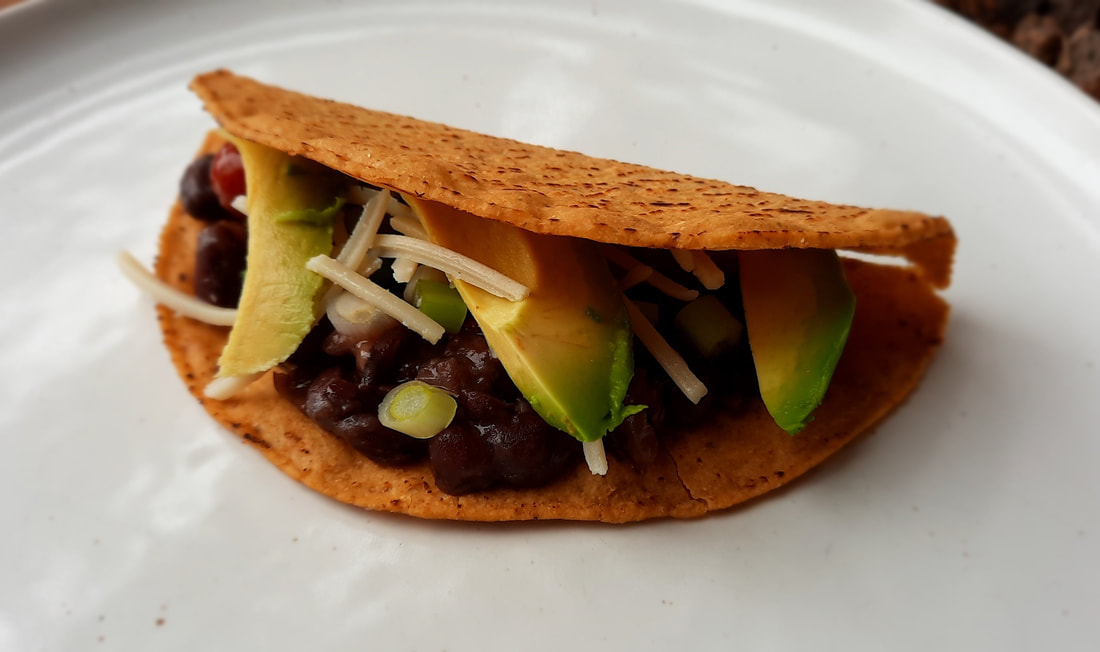 Corn-Free Tacos I don't tolerate corn well, and this means I usually don't buy things that contain corn for myself. These taco shells are a game changer! I feel really good after I eat them, and they make me feel really full. The ingredient list is super simple - Cassava Flour, Avocado Oil, Pumpkin Seed Meal, Pumpkin Powder, Psyllium Powder, and Sea Salt. *Yes, the taco shell in this photo is broken, but I've bought three boxes now and usually only one shell has been broken, which I can live with. To make things even easier, I found these delicious Cuban Black Beans. They're a bit runny for tacos, so you either have to boil them down a little bit, until more of the liquid evaporates, or use a spoon with holes to scoop the beans out. I added sliced green onions, shredded vegan cheese, and a few Sweety Drop Peruvian Peppers, and this was the best, AND EASIEST, meal I'd had in a while! S ea Salt 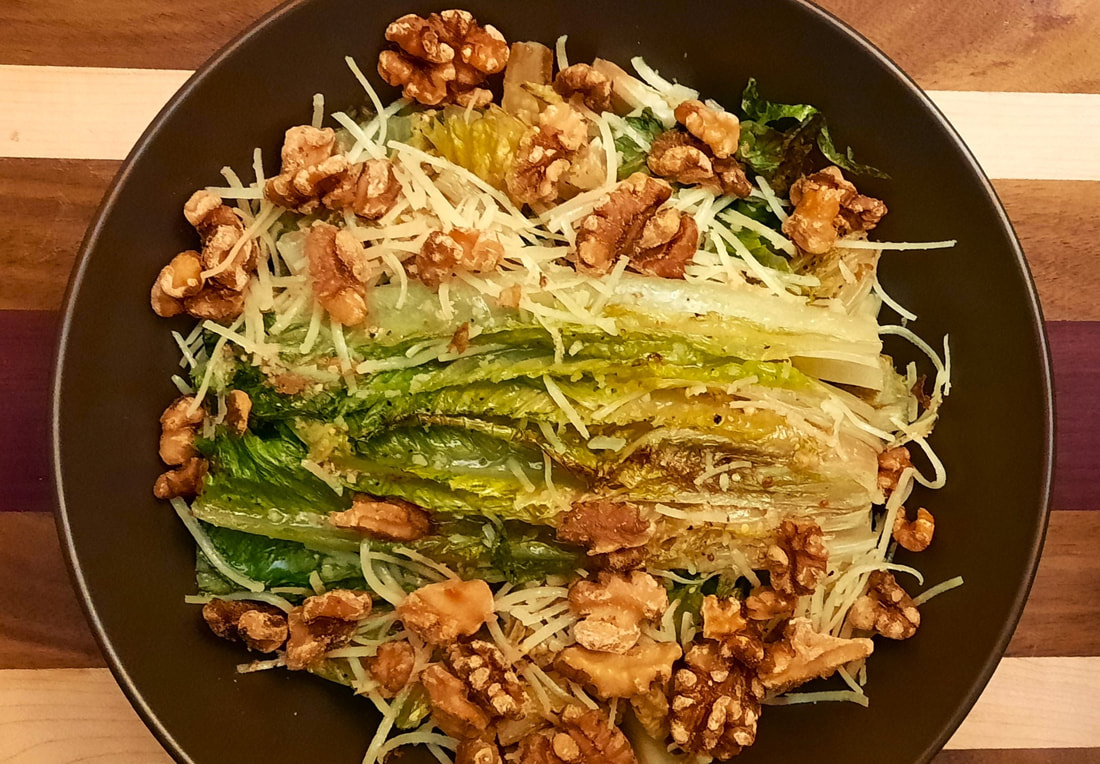 Charred Romaine with Lemon Dressing
Wow, this dish has been a hit when I'm serving people dinner! I think it's a particularly nice way to eat lettuce in the winter; a way to keep it more seasonal. It's also super easy and fast. Inspired by this recipe, but the dressing was changed to the following ingredients:
Here are the instructions from the link above: Step 1. Add all dressing ingredients into a glass jar with a lid. Shake vigorously until a thickened dressing forms. Set aside to serve with the salad. Step 2. Turn your oven to the broiler setting, on high. (I start by putting the walnuts in the pan and toasting them first. Be careful, they burn QUICKLY!) Step 3. Cut the romaine hearts in half, leaving the bottom intact so that the leaves stay together. You will have four halves of romaine. Step 4. Coat in olive oil and sprinkle generously with salt and pepper on both sides. Step 5. Place the romaine hearts, cut side down, on a large baking sheet and broil for 2-3 minutes, then flip and broil the other side for 2-3 minutes. Step 6. Remove the romaine from the oven and place the hearts on a serving platter cut side up. Top each heart with toasted walnuts and grated parmesan. Step 7. Drizzle with the dressing and serve warm or at room temperature. Step 8. Enjoy! 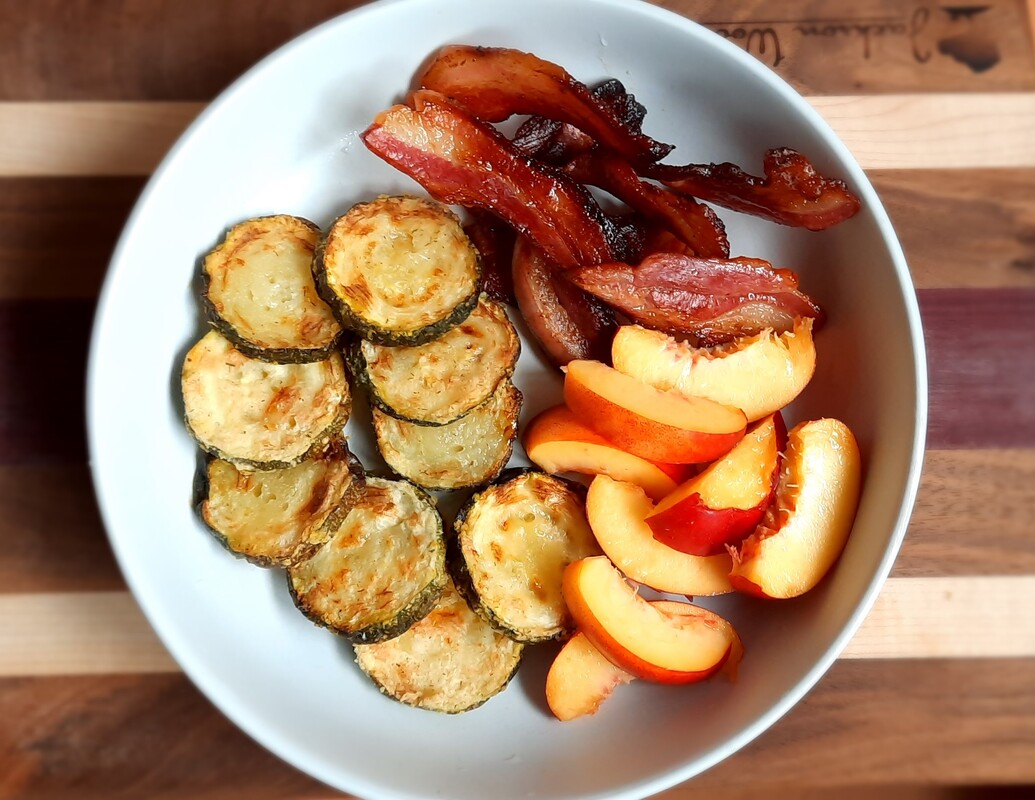 Fried Zucchini, Bacon, and Nectarines
This breakfast was super fun because I bought all the ingredients on one farm stand tour this past weekend! I highly recommend driving around the countryside, checking out the scenery and all the farm stands you run into. Don't forget to bring cash. The bacon came from the Foxfire Heritage Farm farm stand. The zucchini came from a farm stand on Kells Road, in Powassan. They aren't advertising anywhere. They were super nice, their produce was amazing, and they'll pick what you want from their garden while you're there! They are not open on Sundays. I sliced the zucchini into medallions, coated them in a very small amount of olive oil and then this batter mix (gluten free- available at Sobeys), and cooked them in my air fryer. The nectarines came from the same farm stand, although they were brought up from southern Ontario. I bought a giant box, and sectioned and froze most of them, after mixing them with some lemon juice. If you aren't local to the area, you can skip the rest of this entry. If you are local, here are a bunch of options for local produce (that isn't a CSA farm share):
 Fried Mushrooms on Toast
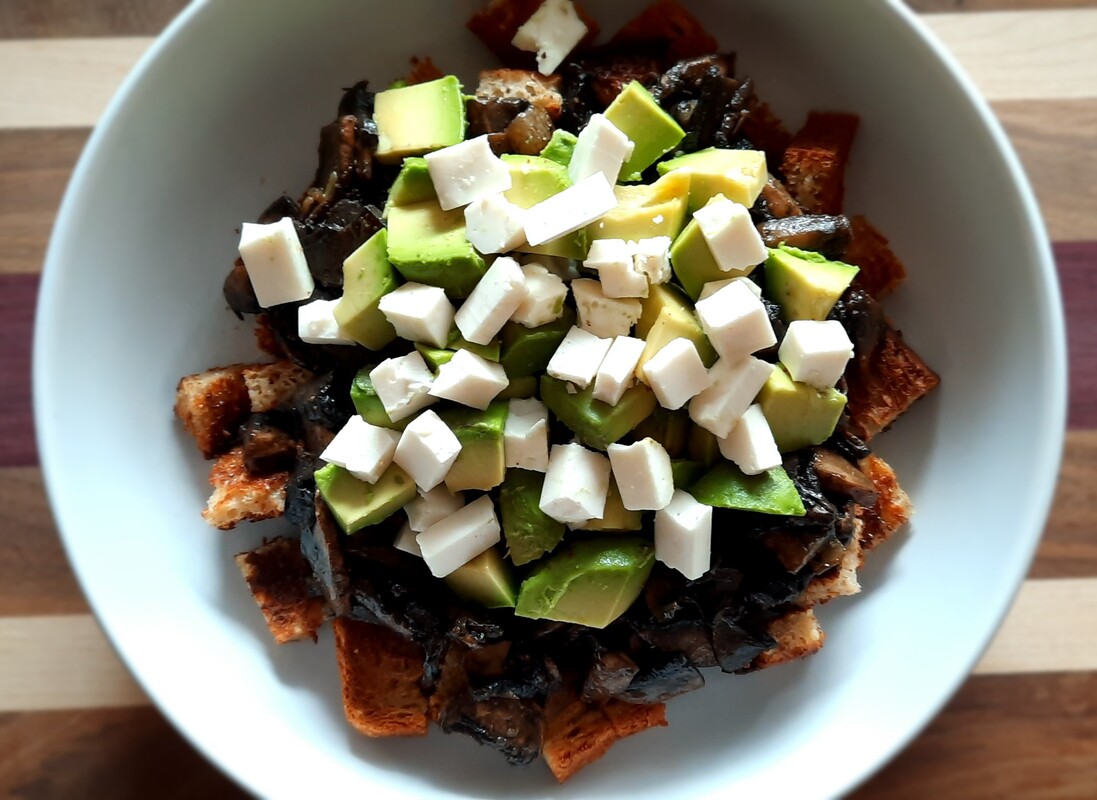
This was a weekend breakfast for me. I don't like to spend a lot of timing cooking breakfast on work days, and mushrooms don't make my heart sing as leftovers. So, the elements were:
Pro tip: Want to know how to have avocados last for a really long time? Here is the formula. Buy them super hard, and generally lighter green. Keep them out of the fridge until they slightly indent under your fingertip when you gently press on them. Immediately, and gently, put them in the fridge. They won't have any bruises, and they will last forever. It works every time! 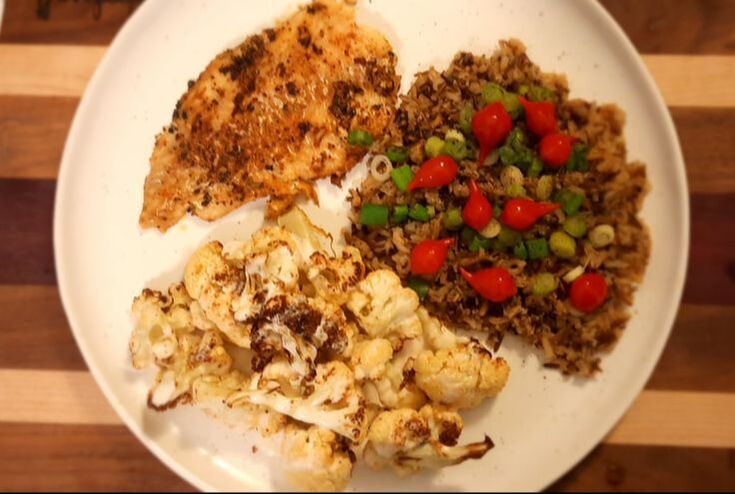 Halibut, Roasted Cauliflower, and Wild Rice
I've fallen in love with my air fryer, which allowed me to prepare this meal pretty quickly (aside from the time the rice cooked). I cooked the cauliflower in it, after tossing it in olive oil and onion powder, and then I drizzled some vegan ranch dressing on top. Fish: I thawed frozen, wild halibut and pan fried it with this togarashi seasoning. It's described as a Japanese table condiment, like salt, but I didn't really care for it that way. However, it was amazing on this fish! Rice: Friends brought me this hand harvested wild rice they picked up in Michigan on a tour around Lake Superior. It smells divine! I made it with a veggie bouillon cube, and topped it with chopped green onions and sweety drop peppers (here's a link, although I did not buy them from this particular supplier). Sweety drop peppers are so good I'm planning on ordering them in bulk. I can almost guarantee you'll like them too, if you get a chance to try them.  Beet Pasta
I'm starting to think I say this a little too frequently, but, I promise, this dish tastes much better than it looks! I discovered this recipe watching 'Nadiya's Time To Eat' on Netflix. Here is the link, if you would like to check out the original recipe. I like that show, and this dish, because everything is easy to make quickly! Here is how I made this dish: I picked about 10 small to medium sized beets from the garden. I rinsed them, and then put them in a steamer basket and steamed them until they were soft enough to easily poke through with a fork. Then, I plunged them in cold water, and pushed the skins off with my thumbs. I combined them with the following ingredients in my Vitamix high-speed blender:
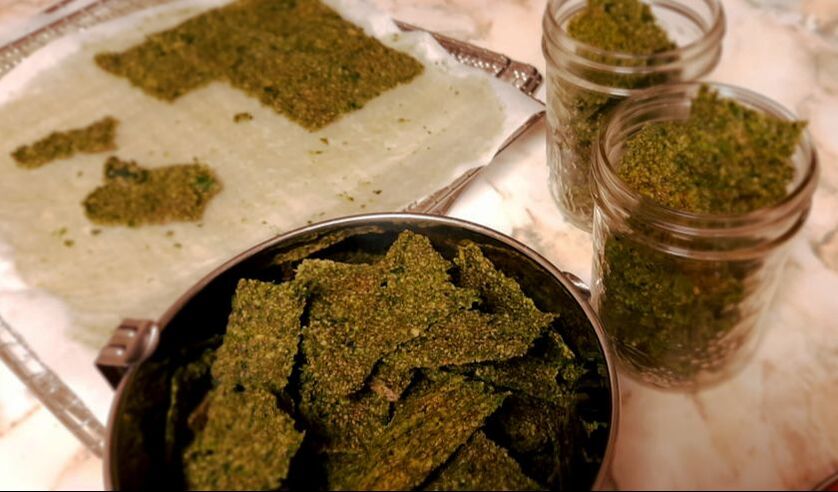 Kale-Onion Dehydrator Crackers So, after years of debating whether or not it was worth the investment, I finally bought a dehydrator! I really lucked out, because the first cracker recipe I tried was glorious! Also, for those of you contemplating the purchase, I was brave and didn't buy an Excalibur, despite its reputation as being the best on the market. Instead, I bought a Cosori. I had expected to let it rattle along in the basement; but I discovered it looks great on the kitchen counter, is relatively quiet, and it warms up the kitchen in the winter! It was also MUCH cheaper.  Here is the recipe for these amazing crackers. The only way I deviated from the recipe (because, of course, I wanted to make it easier) was to score the crackers at the start of dehydrating, so that I could just set it and not think about them anymore. They turned out amazing! Ingredients
* I did THE STUPIDEST THING I'VE EVER DONE when I was making this recipe. I was using my mother's food processor, and I got impatient and tried shoving the kale through the feed tube with a butter knife. Of course, it slipped from my fingers and fell into the running processor, which immediately seized and irreparably died. So, that was sad, BUT, it meant I had to buy a new food processor, which I'm actually pretty excited about! Stay tuned, I'll probably want to show it off! 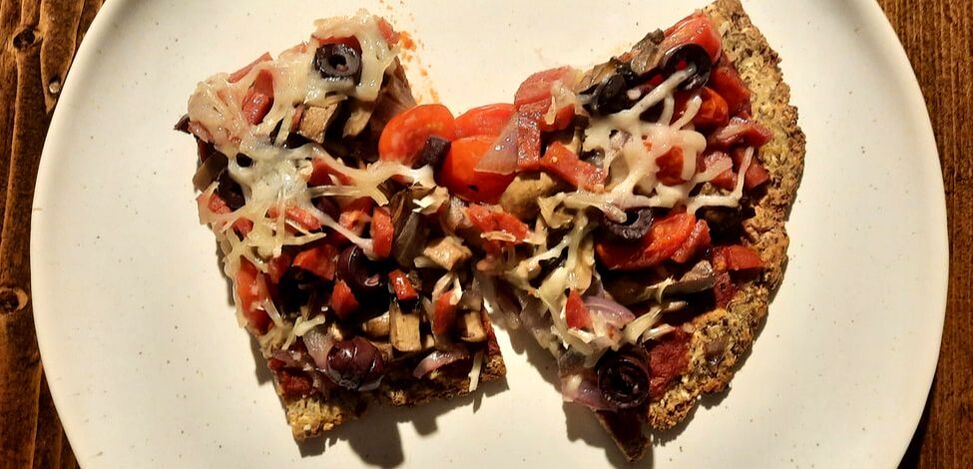 Cauliflower Crust Pizza
Somewhere along the lines, I got it into my head that cauliflower pizza crust always has egg in it. Turns out, that is not at all true! Besides seasoning, this crust only has three ingredients - cauliflower, chickpea flour, and ground flax. Even better, it's pretty easy. As usual, I tried to make the recipe a bit easier, and I got away with it! I don't actually think you need to purchase 'cauliflower rice,' you could just as easily buy frozen cauliflower, and give it a quick chop or spin around the food processor. I did a side by side comparison in the grocery store recently, and the two products seemed like a comparable price, by weight. Oh, and to report back, once I figured out 'gram flour' is actually chickpea/garbanzo bean flour....well, it's actually lots of places in North Bay, including my favourite grocery store - Freshco! So, as follows are the alterations I made to this wonderful recipe: Ingredients:
Directions:
* Pro tip, store your ground flax seeds in the freezer! Once they are ground, their oil becomes very prone to going rancid. Similarly, if you have the space, and you're not going to use them rapidly, you can do the same for anything else that is ground, including flour.  Vegan Frittatas
These are relatively easy to make, and can be used for breakfasts during the week. When I serve these, people almost always ask for the recipe! I used this recipe, from The Simple Veganista, with the following modifications. In North Bay, at the moment, the only place I can find reasonably-priced garbanzo bean flour is at Walmart, but you can also get it made by Bob's Red Mill in health food sections, and at bulk stores. However, I just realized, from looking at the recipe closer, that 'gram flour' is garbanzo bean flour!!! Now, I have to go and check all the international sections again, I'll bet it is at Freshco! Ingredients:
Instructions: Preheat oven to 375 degrees F. If not using a non-stick muffin tin (I use a silicone muffin pans these days), lightly grease with oil or use muffin liners. Prepare the veggies: Fry the veggies in advance OR you can finely dice them. Mix: In a large mixing bowl, combine the chickpea flour, optional nutritional yeast, baking powder, salt, garlic powder, and basil. Whisk in the water (batter will be runny, but that’s normal). Add the veggies, mix to combine. Scoop: Using a ¼ measuring cup, scoop the batter into the muffin tin, filling all 12 holes. Top with the shredded vegan cheese. Bake: Place in the oven, on the center rack, and bake for 35 – 45 minutes (depending on the veggies used). Do the toothpick test by sticking it in the center of a muffin, if it comes clean, frittatas are ready. If cooking for 35 minutes and the center seems soggy, let them cool, and they will stiffen up nicely. Remove from oven, turn out frittatas, and place on a cooling rack to cool. Store: Leftovers can be stored, covered, in the refrigerator, or on the counter. Reheat in the oven. |
What I EatI want to give you an idea of how to eat healthfully on a restricted diet, without a lot of work, by showing you how I eat! I eat strictly gluten-free. You'll find A LOT of veggies in this blog! I eat both fish and meat a few times a week (local and/or humane, whenever possible), and dairy when I'm visiting family and friends, or eating out. I hope you find this blog inspiring and interesting!
Archives
April 2024
|
 RSS Feed