North Bay Naturopath Dielle Raymond
  • Home
  • Naturopathic Medicine
  • About The Doctor
  • Appointments
  • Contact
  • You Might Like to Know!
  • What I Eat
  • Rent Cool Stuff

Treat Three

1/29/2022

0 Comments

 
Picture
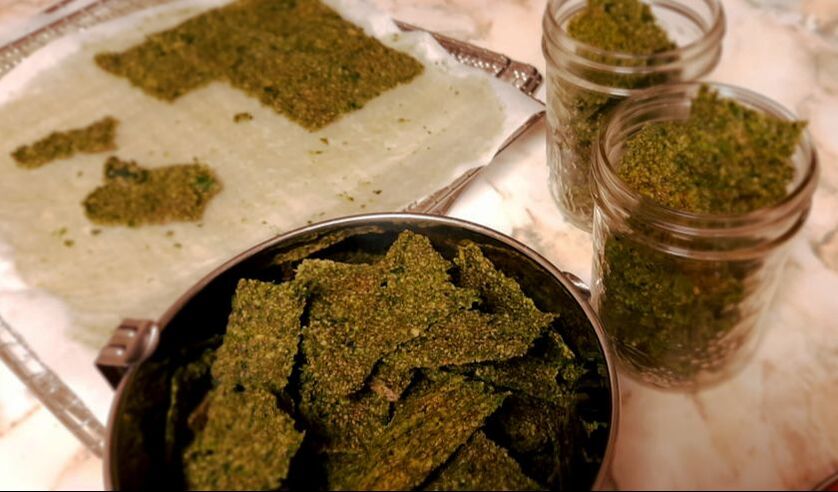
Kale-Onion Dehydrator Crackers

So, after years of debating whether or not it was worth the investment, I finally bought a dehydrator!    I really lucked out, because the first cracker recipe I tried was glorious!   

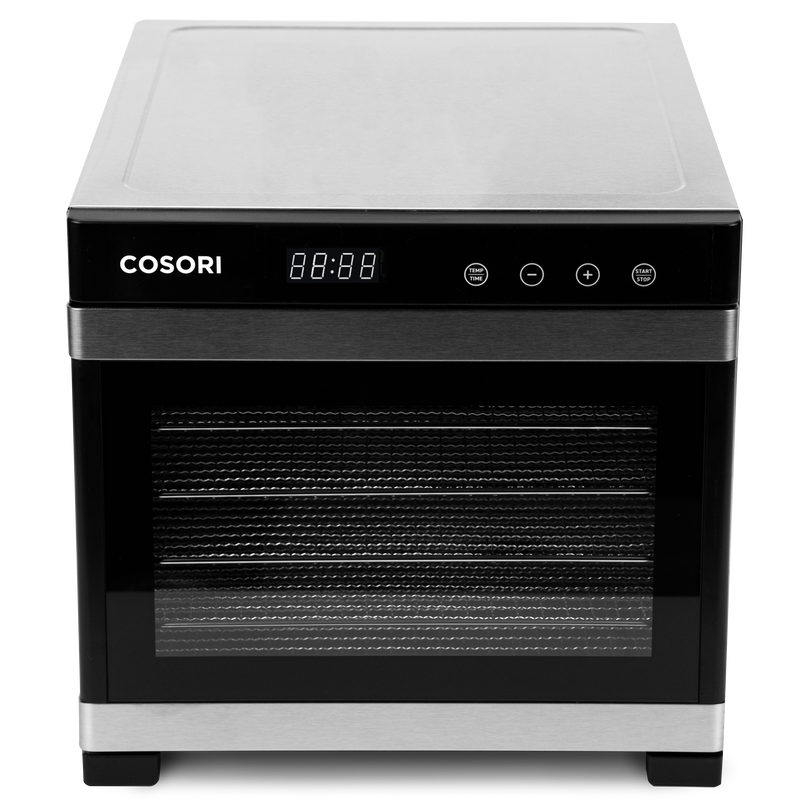
Also, for those of you contemplating the purchase, I was brave and didn't buy an Excalibur, despite its reputation as being the best on the market.  Instead, I bought a Cosori.   I had expected to let it rattle along in the basement; but I discovered it looks great on the kitchen counter, is relatively quiet, and it warms up the kitchen in the winter!    It was also MUCH cheaper.  

Picture

Here is the recipe for these amazing crackers.  The only way I deviated from the recipe (because, of course, I wanted to make it easier) was to score the crackers at the start of dehydrating, so that I could just set it and not think about them anymore.  They turned out amazing!  

Ingredients
  • 1 cup pumpkin seeds soaked overnight in water with a ½ Tb of salt, then drained
  • 2 cups kale
  • 1.5 onions
  • ½ cup chia seeds soaked in cup water minimum 30 minutes, up to overnight
  • 2 Tb extra virgin olive oil
  • 1 tsp sea salt
  • ½ Tb thyme
  • ½ Tb rosemary
Instructions
  • In a food processor, pulse together pumpkin seeds, onions, kale, salt and herbs.
  • Drizzle in the olive oil while running once you have a chunky paste.
  • Stir in the gelled chia seeds to combine well.
  • Spread onto squares of parchment paper about 0.5cm thick. (You’ll need about 3 sheets.)   Score them into the size of crackers you'd like, I used the edge of a spatula.  
  • Dehydrate @ 140ºF for approx. 12 hours

* I did THE STUPIDEST THING I'VE EVER DONE when I was making this recipe.  I was using my mother's food processor, and I got impatient and tried shoving the kale through the feed tube with a butter knife.  Of course,  it slipped from my fingers and fell into the running processor, which immediately seized and irreparably died.   So, that was sad, BUT, it meant I had to buy a new food processor, which I'm actually pretty excited about!   Stay tuned, I'll probably want to show it off!  

0 Comments

Dinner Fourteen

1/29/2022

0 Comments

 
Picture
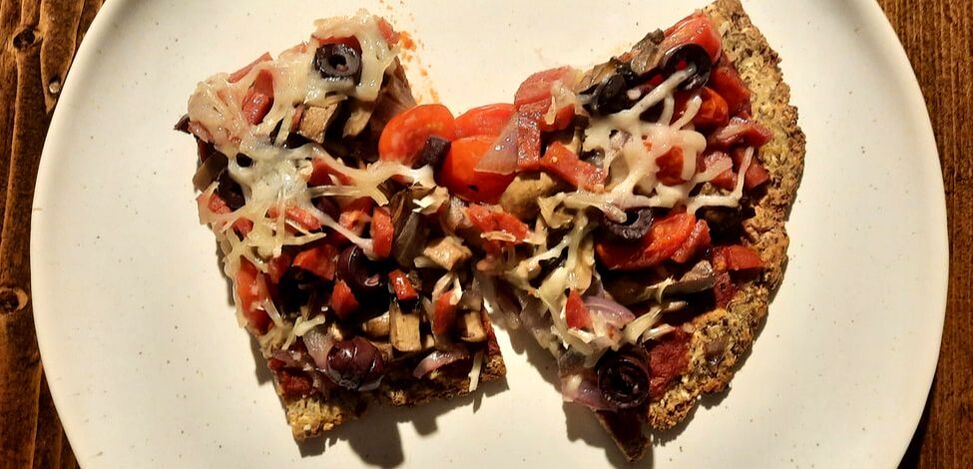
Cauliflower Crust Pizza

Somewhere along the lines, I got it into my head that cauliflower pizza crust always has egg in it.   Turns out, that is not at all true!   Besides seasoning, this crust only has three ingredients - cauliflower, chickpea flour, and ground flax.   Even better, it's pretty easy.   As usual, I tried to make the recipe a bit easier, and I got away with it!    I don't actually think you need to purchase 'cauliflower rice,' you could just as easily buy frozen cauliflower, and give it a quick chop or spin around the food processor.    I did a side by side comparison in the grocery store recently, and the two products seemed like a comparable price, by weight.  

Oh, and to report back, once I figured out 'gram flour' is actually chickpea/garbanzo bean flour....well, it's actually lots of places in North Bay, including my favourite grocery store - Freshco!   

So, as follows are the alterations I made to this wonderful recipe: 

Ingredients:
  • 1 1/2 pounds frozen cauliflower rice (this was one inner bag from the product available at Costco, which I thawed in the sink in some hot water in about 20 minutes)
  • 3 tablespoons ground flax seeds
  • 1/2 cup garbanzo/chickpea flour
  • 1/2 teaspoon salt
  • 1/2 teaspoon garlic powder
  • 1/2 teaspoon dried oregano

Directions:
  • Preheat the oven to 400ºF and line a large baking sheet with parchment paper.
  • Put the cauliflower rice it in a nut milk bag. Use your hands to squeeze the rice, removing all of the excess moisture from the cauliflower. There should be quite a lot of liquid that comes out.   I couldn't find my nut milk bag, so I used one of the reusable thin mesh produce bags you can buy at Metro instead (after giving it a quick wash).    If you don't have that, you can use a thin dish towel. 
  • Place the drained cauliflower in a large bowl, then add in ground flax, chickpea/garbanzo bean flour, salt, garlic, and dried oregano. Stir well to mix, using your hands, if needed, to make it stick together. You can add a tablespoon of water, if needed.
  • Press the mixture into the parchment-lined baking sheet, using your hands to shape the crust into your desired size. The thinner and flatter you can press the crust, the better, but try to keep it as even as possible for a sturdy result. 
  • So this is what the recipe says "Bake the crust at 400ºF for 45 minutes, checking on it after 30 minutes to make sure it's not starting to burn. You want the crust to be dry to the touch and nicely golden. (Tip: You can roast vegetable toppings for your pizza at the same time! I put sliced tomatoes, red onion, and mushrooms on a separate pan, and take them out of the oven around the 25 minute mark so they don't burn.)"   However, mine only needed to bake for 25 minutes.   This may be because I put it on my cast iron cookie sheet?
  • Then, I peeled the parchment paper off the crust, flipped it over, added my toppings, and baked it for an additional 10 minutes.   ​

* Pro tip, store your ground flax seeds in the freezer!   Once they are ground, their oil becomes very prone to going rancid.   Similarly, if you have the space, and you're not going to use them rapidly, you can do the same for anything else that is ground, including flour.   
0 Comments

Breakfast Eight

1/3/2022

0 Comments

 
Picture
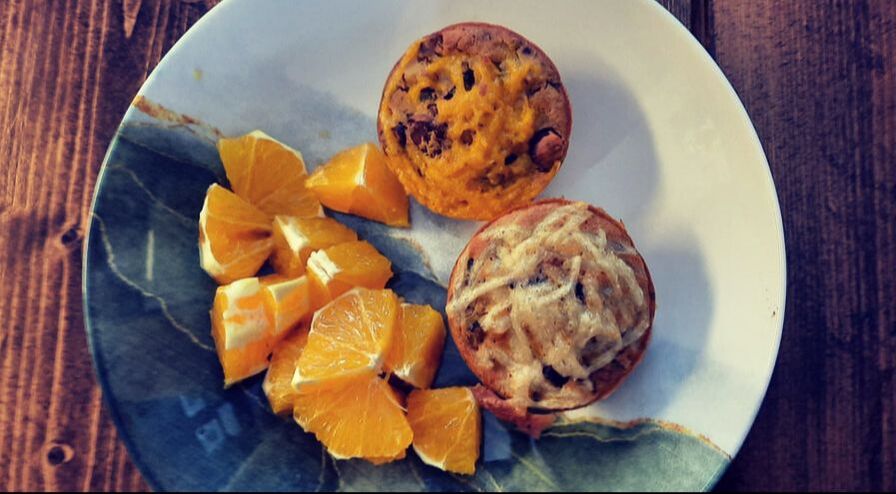
Vegan Frittatas 

These are relatively easy to make, and can be used for breakfasts during the week.  When I serve these, people almost always ask for the recipe!  I used this recipe, from The Simple Veganista, with the following modifications.   In North Bay, at the moment, the only place I can find reasonably-priced garbanzo bean flour is at Walmart, but you can also get it made by Bob's Red Mill in health food sections, and at bulk stores.    However, I just realized, from looking at the recipe closer, that 'gram flour' is garbanzo bean flour!!!   Now, I have to go and check all the international sections again, I'll bet it is at Freshco!  

Ingredients:
  • 1 ¾ cups chickpea flour (aka, garbanzo bean flour, gram flour)
  • ¼ cup nutritional yeast
  • 1 teaspoon baking powder
  • 1 teaspoon garlic powder
  • 1 teaspoon dried basil
  • ¾ teaspoon salt
  • 2 cups water
  • whatever veggies you have handy (I used a zucchini, a red onion, about 1 1/2 cups mushrooms, and sliced black olives)
  • vegan shredded cheese. My new favourite brand is Violife, but I used Daiya for this batch 

Instructions: 
Preheat oven to 375 degrees F. If not using a non-stick muffin tin (I use a silicone muffin pans these days), lightly grease with oil or use muffin liners.
Prepare the veggies: Fry the veggies in advance OR you can finely dice them.  
Mix: In a large mixing bowl, combine the chickpea flour, optional nutritional yeast, baking powder, salt, garlic powder, and basil. Whisk in the water (batter will be runny, but that’s normal). Add the veggies, mix to combine.
Scoop: Using a ¼ measuring cup, scoop the batter into the muffin tin, filling all 12 holes. Top with the shredded vegan cheese.
Bake: Place in the oven, on the center rack, and bake for 35 – 45 minutes (depending on the veggies used). Do the toothpick test by sticking it in the center of a muffin, if it comes clean, frittatas are ready. If cooking for 35 minutes and the center seems soggy, let them cool, and they will stiffen up nicely.
Remove from oven, turn out frittatas, and place on a cooling rack to cool.
Store: Leftovers can be stored, covered, in the refrigerator, or on the counter. Reheat in the oven.​
0 Comments

    RSS Feed

    What I Eat

    I want to give you an idea of how to eat healthfully on a restricted diet, without a lot of work, by showing you how I eat!  I eat strictly gluten-free.  You'll find A LOT of veggies in this blog!  I eat both fish and meat a few times a week (local and/or humane, whenever possible), and dairy when I'm visiting family and friends, or eating out.   I hope you find this blog inspiring and interesting!

    Archives

    October 2022
    January 2022
    December 2021
    March 2021
    January 2021
    December 2020
    June 2020
    May 2020
    April 2020
    March 2020
    June 2017
    May 2017
    April 2017
    February 2017
    November 2016
    June 2016
    April 2016
    February 2016
    January 2016
    December 2015
    November 2015
    October 2015
    September 2015
    August 2015
    July 2015
    May 2015
    April 2015
    March 2015
    February 2015
    January 2015
    December 2014
    November 2014
    October 2014
    September 2014
    August 2014
    July 2014
    June 2014
    May 2014
    April 2014
    March 2014
    February 2014
    January 2014
    December 2013
    November 2013
    October 2013
    September 2013
    August 2013
    July 2013
    June 2013
    May 2013
    April 2013
    March 2013
    February 2013
    January 2013
    December 2012
    November 2012
    October 2012

This website is intended for educational purposes only. There are no contents on this website that are intended to provide medical advice, diagnosis, or treatment.  Copyright ©2021 Dr. Dielle Raymond, ND. All Rights Reserved.
  • Home
  • Naturopathic Medicine
  • About The Doctor
  • Appointments
  • Contact
  • You Might Like to Know!
  • What I Eat
  • Rent Cool Stuff